
Let's say we made a class library project; now we'd like to make this NuGet package accessible from outside our local machine.
We can do so by hosting our package on a NuGet package feed - there are several options available: we'll pick GitHub here.
First, we want to host our project on GitHub if we haven't already done so: create new repo, push the code.
Then, we'll follow some steps to host the NuGet on GitHub so that it can be consumed by Visual Studio (with authentication, if we want a private feed) and, eventually, by an Azure web app.
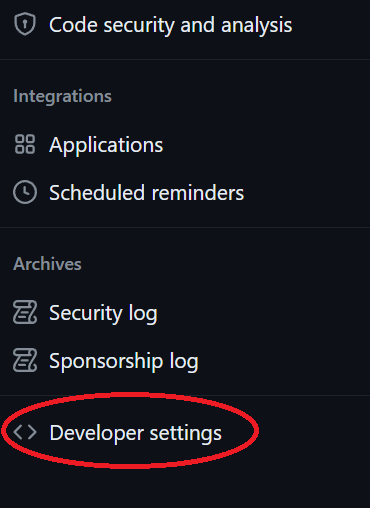
From GitHub, let's create a Personal Access Token (Classic):


<configuration>
  <packageSources>
    <clear />
    <add key="github" value="https://nuget.pkg.github.com/<USER NAME>/index.json" />
  </packageSources>
  <packageSourceCredentials>
    <github>
      <add key="Username" value="<USER NAME>" />
      <add key="ClearTextPassword" value="<TOKEN>" />
    </github>
  </packageSourceCredentials>
</configuration>
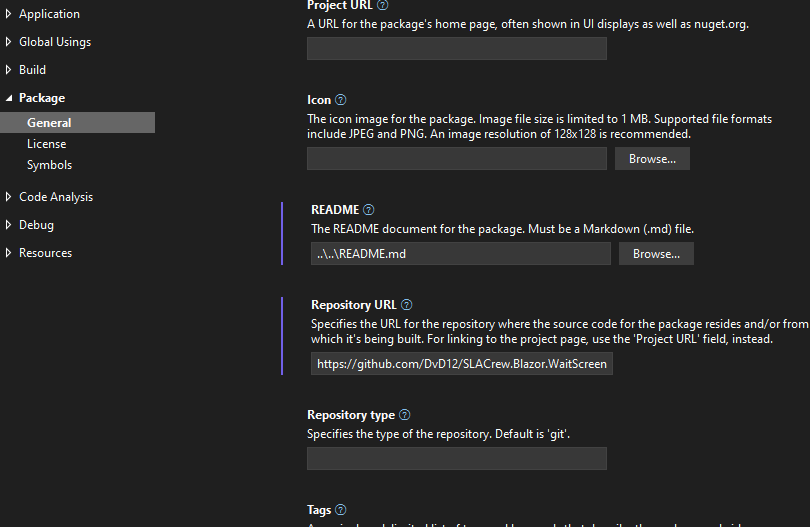
So we now have a nuget.config file that lives alongside our class library project's .csproj file.
In Visual Studio, Tools > NuGet Package Manager > Package Manager Console, cd (change directory) to the project directory and then run
dotnet pack --configuration Debug
dotnet nuget push ".\bin\Debug\<your build>.nupkg" --source "github"
This should be done every time we want to push out a new version.
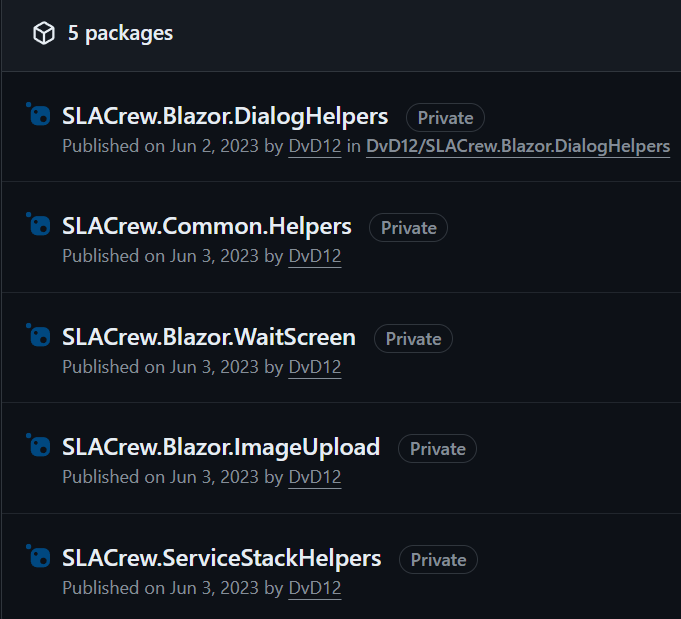
Now we should be able to find our package at https://github.com/<USER NAME>?tab=packages
That's it for GitHub. Now we want Visual Studio to be able to consume this private feed:
1) Go to Tools > NuGet Package Manager > Manage NuGet Packages for Solution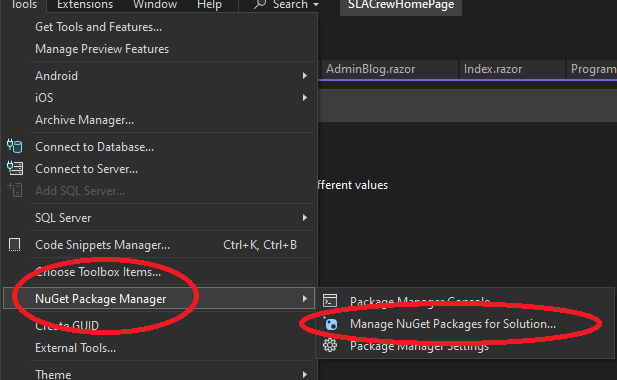
2) Add https://nuget.pkg.github.com/<USER NAME>/index.json as a source:
3) On the top right corner, select the new package source
4) In the authentication dialog, use <USER NAME> and <TOKEN>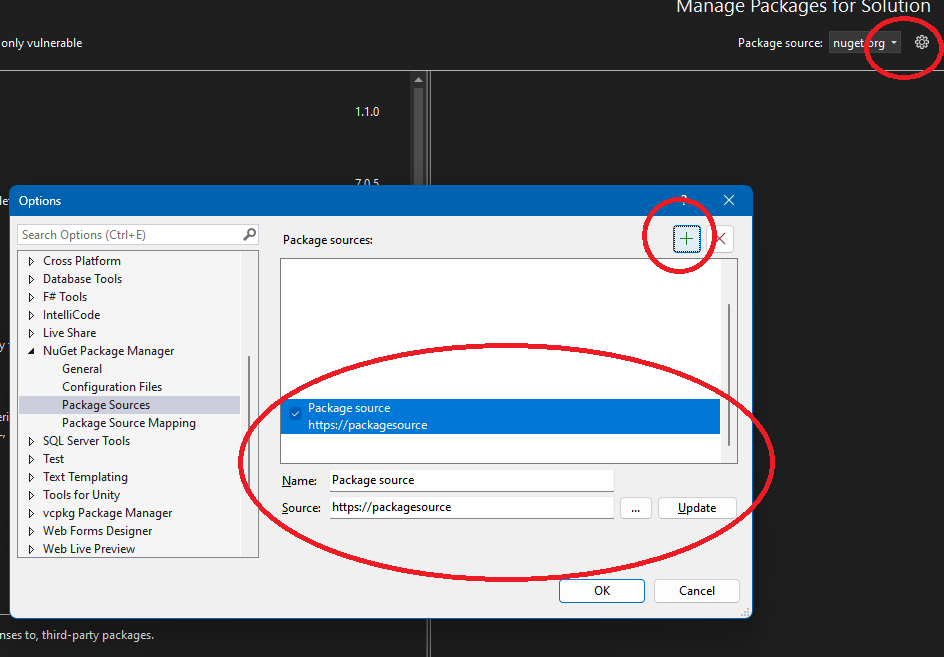
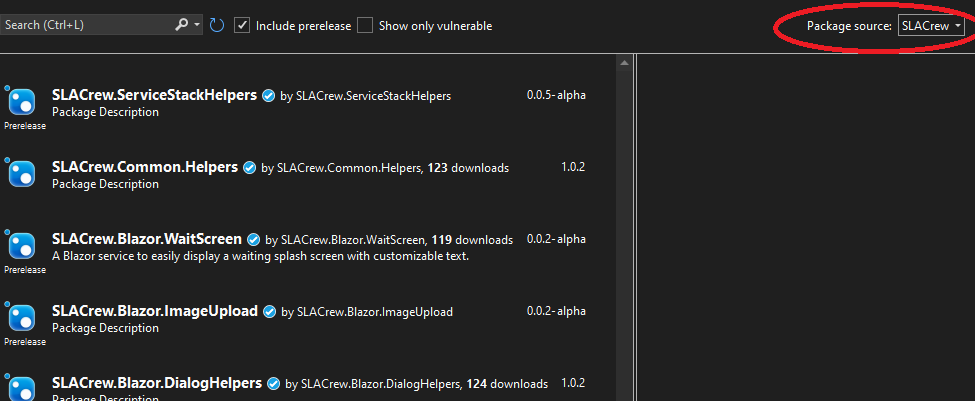
Now we are subscribed to our new package feed and we can use our packages hosted there:
This is it for Visual Studio. Now, what if we are hosting a web app on Azure, and this web app relies on an external NuGet feed? How does Azure know about it?
For an Azure App Service to use this private NuGet feed,
1) Go to Web App > Configuration > Application Settings > New Application setting
- Name: github (same as the key in nuget.config)
- Value: <TOKEN>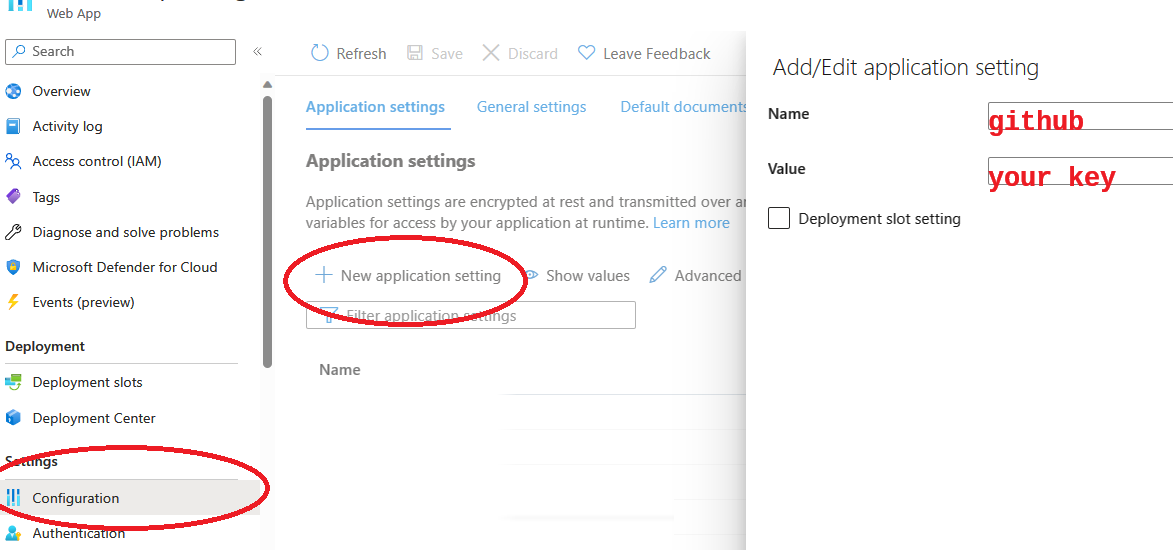
2) The project being published might need a copy of the same nuget.config
That's it! Now when we publish our Azure Web App it'll be able to consume our new NuGet packages just like we would from Visual Studio.
References:
When the need arises to reuse the same codebase on different projects, we can create a library. NuGet is a way of doing so.
Let's think about naming and structure first.
Using the namespace naming convention, we can base the complete name of our library on three components:
1. The organization name, i.e. the owner of the libraries we make
2. A category name (optionally), i.e. what this library refers to
3. The name of our library
For instance, we made a Blazor component that shows a full-screen "please wait" spinner animation. It's related to Blazor and it's a wait screen, so we named it "WaitScreen" and the complete name is "SLACrew.Blazor.WaitScreen". This is also the namespace.
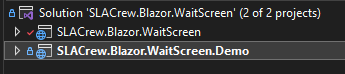
As for structure, our WaitScreen solution looks like this:
./SLACrew.Blazor.WaitScreen
-> .git/
-> src/
-> SLACrew.Blazor.WaitScreen/
-> SLACrew.Blazor.WaitScreen.Demo/
-> SLACrew.Blazor.WaitScreen.sln
-> README.md
Instead of placing our solution in the SLACrew.BlazorWaitScreen folder, we place it in SLACrew.BlazorWaitScreen/src folder, allowing the base folder to host miscellaneous files. We can then create different projects where the main one hosts the library code and then optional demos with which we can test and improve our codebase.
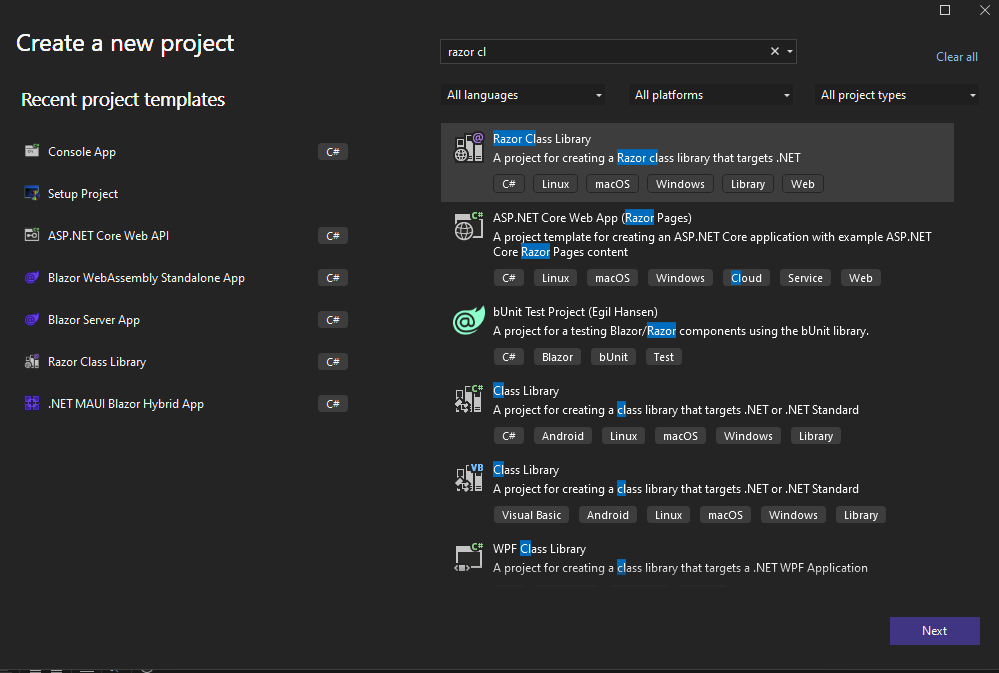
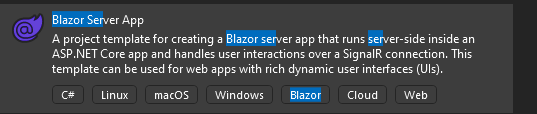
We need to start by creating a Class Library project (Razor Class Library if we want to create Blazor components/services). In our case that's SLACrew.Blazor.WaitScreen:
Now we can create a project that allows us to test out our features. In our case that's SLACrew.Blazor.WaitScreen.Demo, a Blazor Server project (WebAssembly would be fine too):
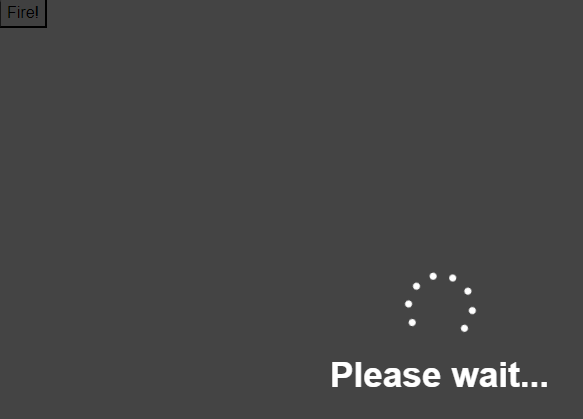
In our case, the demo project shows a button that allows us to showcase the wait screen feature:
The code structure will look something like this:
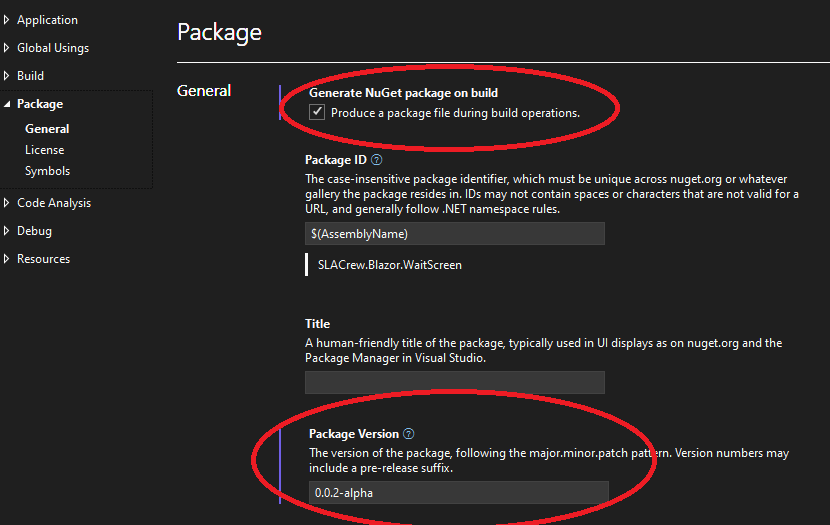
Once we're done coding it's time to create a NuGet package out of our class library. Let's right-click our project and select Properties. Let's then make sure that
1) "Produce a package file during build operations" is checked
2) We increment the package version every time we want to push out a new version of our package
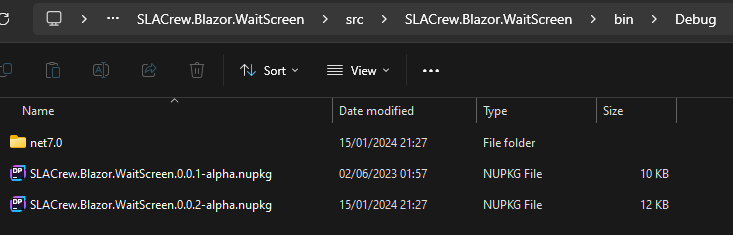
When we build the class library we'll find the package in the debug/release folder:
That's it. One next step would be to host this package to a NuGet feed on the web so that it can be consumed anywhere else and not just on our local computer. There's a blog article here outlining exactly how to do so.
Let's set up authentication in an ASP.NET Core web application. This is going to be the final result:
??
1) Install the following NuGet packages:
2) Create an ApplicationDbContext class:
ApplicationDbContext : IdentityDbContext
{
  public ApplicationDbContext(DbContextOptions<ApplicationDbContext> options) : base(options)
  {
  }
}
3) In Startup class,??
builder.Services.AddDbContext<ApplicationDbContext>(options => options.UseSqlServer(OrmTest.ConnectionString));
builder.Services.AddDefaultIdentity<IdentityUser>(options =>
{
  options.SignIn.RequireConfirmedAccount = false;
  options.Password.RequireNonAlphanumeric = false;
  options.Password.RequireDigit = false;
  options.Password.RequireLowercase = false;
  options.Password.RequireUppercase = false;
}).AddRoles<IdentityRole>().AddEntityFrameworkStores<ApplicationDbContext>();


builder.Services.AddScoped<IUserClaimsPrincipalFactory<IdentityUser>, UserClaimsPrincipalFactory<IdentityUser, IdentityRole>>();
3.1) Make sure your connection string contains ";TrustServerCertificate=true"
4) In Package Manager Console, cd to the project directory and run these two commands:
Add-Migration CreateIdentitySchema
Update-Database
5) Run dotnet tool install -g dotnet-aspnet-codegenerator (just once) and then dotnet-aspnet-codegenerator identity --dbContext YOUR_CONTEXT_CLASS --files "Account.Login;Account.Logout;Account.Register" -tfm "net60" to get the default login/logout files. Adjust net60 to the version you need.
6) In App.razor, have this code
<Router AppAssembly="@typeof(Program).Assembly" PreferExactMatches="@true">
    <Found Context="routeData">
        <AuthorizeRouteView RouteData="@routeData" DefaultLayout="@typeof(MainLayout)" >
            <NotAuthorized>
                You are not authorized to view this content
            </NotAuthorized>
        </AuthorizeRouteView>
    </Found>
    <NotFound>
        <CascadingAuthenticationState>
            <LayoutView Layout="@typeof(MainLayout)">
                <p>Sorry, this part is still under construction...</p>
            </LayoutView>
        </CascadingAuthenticationState>
    </NotFound>
</Router>
7) Make sure that your startup class has app.UseAuthentication(), app.UseAuthorization() and app.MapRazorPages()?? so you can navigate to Identity/Account/Login and all the other authentication pages we've just set up.